Mecasem is your essential quality service provider. We carry out mechanical tests, fatigue tests, durability tests, metallographic examinations and chemical analyses, climatic tests, ageing tests, heat treatments and non-destructive tests. We have NadCap accreditation for mechanical testing, fatigue testing and machining services. We also machine our own test specimens for a complete turnkey service. Whatever your field of activity – aeronautics, defence, transport, construction and civil engineering (Infrastructure & Housing), Energy, pharmaceutical and medical, food processing ou industrial supplies– Mecasem offers industrial tests (mechanical tests, fatigue tests, durability tests) to meet your specific needs.
MACHINING
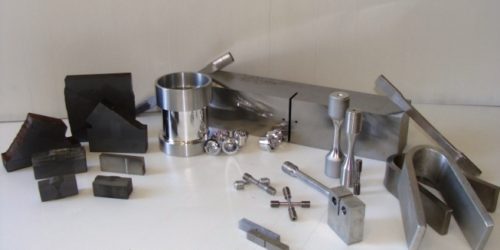
Mecasem has specialised in preparing test specimens since 1980.
This expertise is recognised by demanding customers in the leading sectors of activity in aeronautics, nuclear, metallurgy, medical, etc.
QUALITY AND APPROVALS
The quality level is guaranteed by our ISO 9001, ISO 9100, Nadcap and Cofrac EN 17025* approvals and certifications. Our machining operators are trained and qualified in the latest technological developments. Guaranteed traceability.
SHORT LEAD TIMES
Our machining workshops integrated within our laboratories and our inventory of machines equipped with all the appropriate machining resources provide maximum flexibility and very responsive machining lead times. Our independent testing laboratories have established partnerships with the main inspection bodies: BV, SGS, TUV, Lloyds’ Register, etc.
*List of sites and scopes available on www.cofrac.fr
INDUSTRIAL TESTING
PREPARATION OF MECHANICAL, METALLURGICAL AND CORROSION TEST SPECIMENS
Cylindrical, prismatic, resilient, folded specimens.
Specific specimens for fatigue, CTOD, K1C.
Machining of steel, aluminium, titanium, inconel, composites.
- QUOTATION: STUDIES AND SOLIDWORKS CAD
- CUSTOM MACHINING – SPECIAL MECHANICAL ASSEMBLIES
- 40 YEARS OF INDUSTRY EXPERTISE
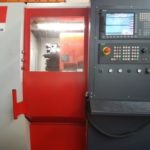
CONTRACT THROUGHPUT
Range of high capacity horizontal and vertical sawing machines
Sampling for destructive tests.
Workshop cutting and sawing of all kinds of metals.
- WIRE EROSION (Electro Discharge Machining)
- CAD – SOLIDWORKS
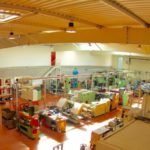
Capacity: 5N to 3000kN Temperature: -269° to +1000°C
Fatigue
Durability limit (bending, rotation, elongation/compression
Oligocyclic tests
Cracking speed da/dN
Priming criteria
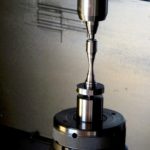
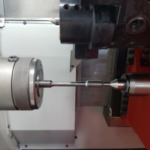
Tensile strength and compression tests
Tensile strength tests as per ISO 6892-1 Methods A and B
Test specimens or large parts
Special assemblies designed and manufactured for all types of applications
Tests on screws, nuts
Testing on strips, wires
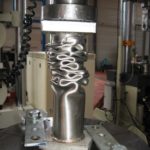
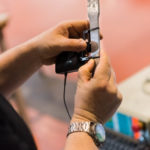
Bend tests
Adapted to all types of ASTM or ISO standards
Resilience testing
As per EN and ASTM standards
Transport
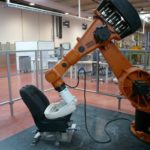
Simulation of vehicle entry/exit using a KUKA robot
Tests on seats
Reproduction of movements measured using a pressure mat
Seat durability tests on benches with 2 or 3 axes
Accelerated backrest durability tests
Durability test of upholstered cushion padding.
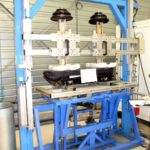
Durability tests on sub-assemblies
All types of mechanical tests with servo-controlled force or displacement.
Movement reproduction in durability tests under different climatic conditions
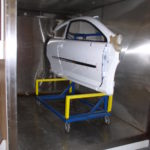
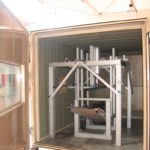
Tests following customer specifications, creation of special test rigs
Tilting durability of vehicle rear seats with associated measurements and characteristics
Seatbelt unwinding/retracting durability
Cycling of all types of switches with measurements (contact resistance or leakage current)
Vibration test
All sine wave profiles up to 250 Hz
Random profiles
Reproduction of road profiles from recordings
Chemical analysis in laboratory and on site
Elemental analysis by plasma or arc emission spectrometry
Elemental analysis on all metal alloys
C&S-specific analyser by combustion and infrared detection
On-site arc spectrometry (PMI) analyser
Corrosion tests in aqueous environment
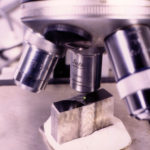
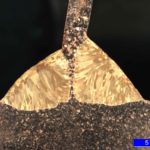
Hardness testing
Vickers
Brinell
Rockwell
Microhardness
Analyses on all metals and alloys
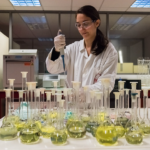
Tests of all types under
Constant temperatures
Tests in moist heat
Rapid temperature variations
Thermal shocks
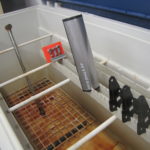
Temperature ranges
From – 80 °C to + 220 °C
Humidity:
from 10% to 98%
Chamber dimensions:
from 450 x 330 x 330
to 1,100 x 1,100 x 1,100
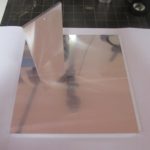
Atmospheric corrosion tests
Saline atmosphere (salt mist)
Dissolved sulphur atmosphere
Tests in H2S, SO2 or mixed gas atmosphere
Stress corrosion testing
Corrosion tests in acidic environment
Radiography
Using X-rays or gamma rays, we carry out radiography on parts and record their images on film.
200 kV and 300 kV X-ray tubes
All metals (up to 40mm steel) and non-metallic materials.
E.g welded assemblies or castings
Ultrasound
All metals (no thickness limit)
Full-penetration welded assemblies
Thickness measurement on tank
Aeronautical composites
Rolled/Forged products (bars, sheets)
Moulded products
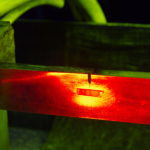
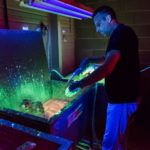
Dye penetration testing (Nadcap accredited)
All types of materials
Welded assemblies
Machined and ground mechanical parts
Castings
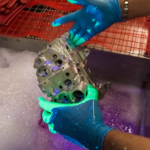
Magnetic resonance imaging (Nadcap accredited)
Applications
Ferromagnetic materials
Aeronautical parts
Welded assemblies
Machined, ground or maintenance mechanical parts.
On-site applications: :
boiler works, metal construction, material supplier, refineries, petrochemicals.
Workshop applications:
on fixed bench: automotive and aeronautics parts.
TESTS ON YOUR PARTS UNDER PRESSURE AND AT TEMPERATURE
Our experts are familiar with the latest standards and regulations, audited annually by an independent certified body. Our technical team adapts to any specific procedure.
We help you define your own test protocol. We have a wide range of test facilities and services, video data recording, monitoring of physical characteristics (pressure, temperature, flow rate, etc.), electronic signature of test reports and data transmission.
Leak detection – Burst tests:
– Hydraulic pressure tests (100 bar)
– Pneumatic pressure tests (33 bar)
– Helium leak detection, specify range 1.10-8 mbar.L/s
– Hydrogen leak detection, specify range 1.10-6 mbar.L/s
Test report:
Example of a material defect detected on a non-compliant cylinder body
Leak test of a threaded sleeve welded on a stainless-steel pipe, for the automotive sector
Leak test of a threaded sleeve welded on a stainless-steel pipe, for the automotive sector
2 Test pools:
– Dimensions: length 4 metres, width 1.5 metres, depth 2 metres
– Dimensions: length 2 metres, width 1.5 metres, depth 2 metres
Mechanical machining:
Production of flanges or special sub-assemblies appropriate to your products and ensuring effective seals during tests
Example of the design and construction of the air supply system and tooling providing the seal
ONLINE TEST REQUESTS
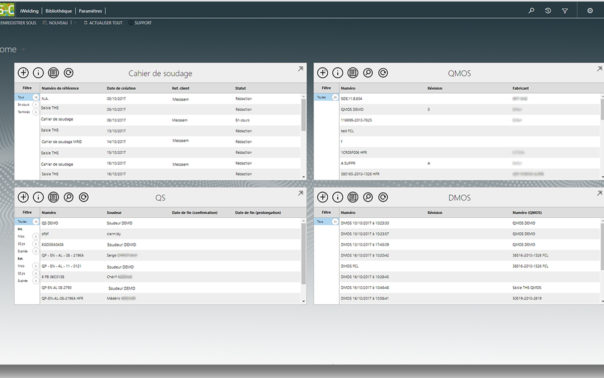
Fulfil your requests for tests on welded assemblies
The My Self-Control application simplifies and speeds up processing your quotations for all your standardised weld inspections. You can digitise and so manage your welding documentation (QMOS, QS) more easily online using the iWelding application and complete your quotation requests in a few clicks.
Test reports in digital format
Your test reports are sent in PDF format by e-mail with a secure electronic signature recognised by COFRAC and regulatory bodies (NF EN ISO/IEC 17025, LAB REF 02 and LAB GTA 09).
OUR LITTLE EXTRAS THAT MAKE THE DIFFERENCE
An 8,000 m2 production and testing site located in Alsace at the heart of Europe
Vehicles equipped for on-site interventions throughout France and in other countries
Mecasem shuttle service for your measuring instruments and test specimens
Tour 1 : Strasbourg – Mulhouse – Allemagne – Belfort – Montbéliard – Besançon
Tour 2 : Marnaz – Grenoble – Lyon – Le Creusot – Besançon
Tour 3 : Marnaz – Vallée de l’Arve – Annecy – Marnaz
Tour 4 : Besançon – Saint-Louis – Mulhouse – Besançon
Tour 5 : Zone Lyon
They trust us
